Launching a kite on a surf beach is safer with the kite on the land side of the pilot, a helper handling the launch, and the pilot walking toward the water, away from land hazards. Time the walk-in between wave sets.
This guide covers the beach-to-water transition only. For the wider skill set, see how to kitesurf in waves.
Before you launch
The aim is to get the kite into the air and the pilot into the water without the kite crossing a hazard, and then to bring it back to the sand under control. A surf beach makes this harder because the waterline moves with every wave and the shore break pushes against the pilot. These prerequisites decide whether the sequence below is realistic on the day.
- A trained helper. A second person who can hold the kite and follow hand signals makes both launching and landing far easier in surf. If nobody on the beach can do this, wait or ask another kiter before starting.
- A clear downwind area. Look past the kite and lines for people, boats, buildings, fences and other hard objects. The launch side you choose should keep these behind or beside you, not under the kite.
- Lines and bar sorted before inflation is finished. Check that the lines run clean from the bar to the kite, that nothing is tangled, and that you can reach the safety release. Sand and moving water make it difficult to untangle anything once the kite is up.
- A sense of the wave pattern. Watch the shore break for a while. Notice whether waves arrive in groups with calmer gaps between them, because those gaps are when you want to be walking in.
- Suitable skills. If you have never launched in surf, a lesson with a qualified instructor is a better starting point than learning on a busy shore break.
Lay the kite out with its leading edge facing into the wind and keep the canopy weighted so gusts cannot lift it. Run the lines out downwind and look along each line before you walk back to the bar.
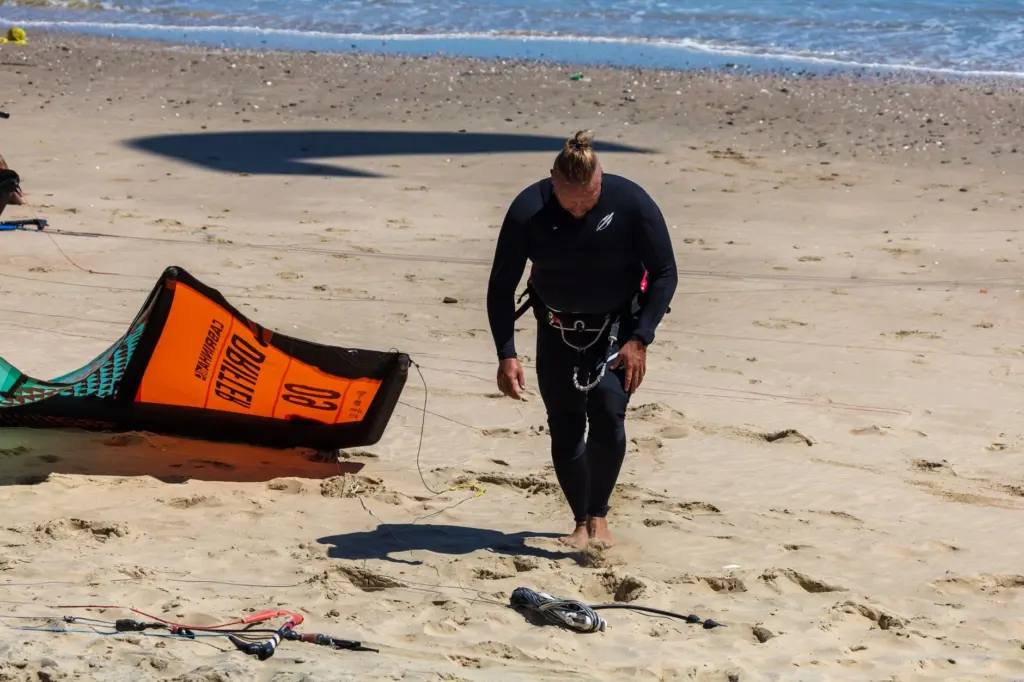
Launching and landing in surf, step by step
The sequence below follows the beach-to-water transition in order. Each step ends with a decision point, so do not move on until it is settled.
Step 1: Read the beach and choose the launch side
Start by deciding where the kite will be and where you will stand. One launch guide notes that the choice depends on factors including wind direction and hazards. On a surf beach, the hazards are usually the dunes, rocks, walls, people and vehicles behind you, plus the moving whitewater in front.
Pick the side where a mistake sends the kite toward open space. If the kite and lines would be dragged over anything solid, move along the beach or wait.
Step 2: Brief your helper
Agree the signals before the kite is in anyone’s hands. Decide who will say “ready”, how you will signal that the kite should be released, and what the helper does if the wind drops or gusts. Keep the plan short, because shouting over breaking waves is unreliable.
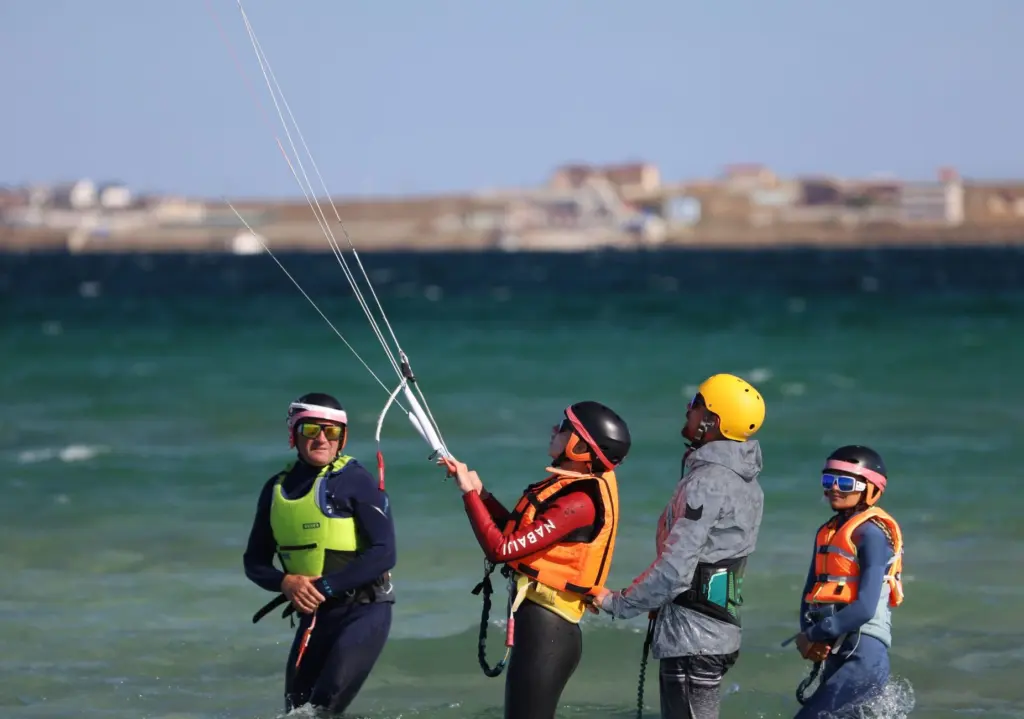
The helper holds the kite upright so you can step back, take the bar and check the lines. A helper standing at the water’s edge also needs to watch the incoming waves, not only the kite.
Step 3: Launch with the kite on the land side
Set the kite on the land side of you and walk toward the water. The same guide explains that walking toward the water does two things at once: it moves you away from land obstacles, and it puts the kite on the land side, which the guide describes as safer.
The kite is commonly brought to the 9 o’clock or 3 o’clock position for the launch. Once it is flying, your position under the kite is much further from hard objects than if you had launched the other way.
Keep your first launch gentle. Use small bar movements and let the kite climb steadily rather than pulling it hard, so that it does not surge across the wind window before you are ready.
Step 4: Walk the kite out through whitewater
Once the kite is flying, park it high and steady, then walk into the water while you watch the waves rather than the kite. A kite parked overhead has the least pull, and that leaves your attention free for the next wave. Taking small, deliberate steps keeps your balance when whitewater arrives.
Move in during the calmer gap after a group of waves. Stop and face the incoming whitewater if one arrives early, and keep the kite steady rather than sheeting in. Sudden bar movement is what makes a kite dive or lurch while you are being pushed by water.
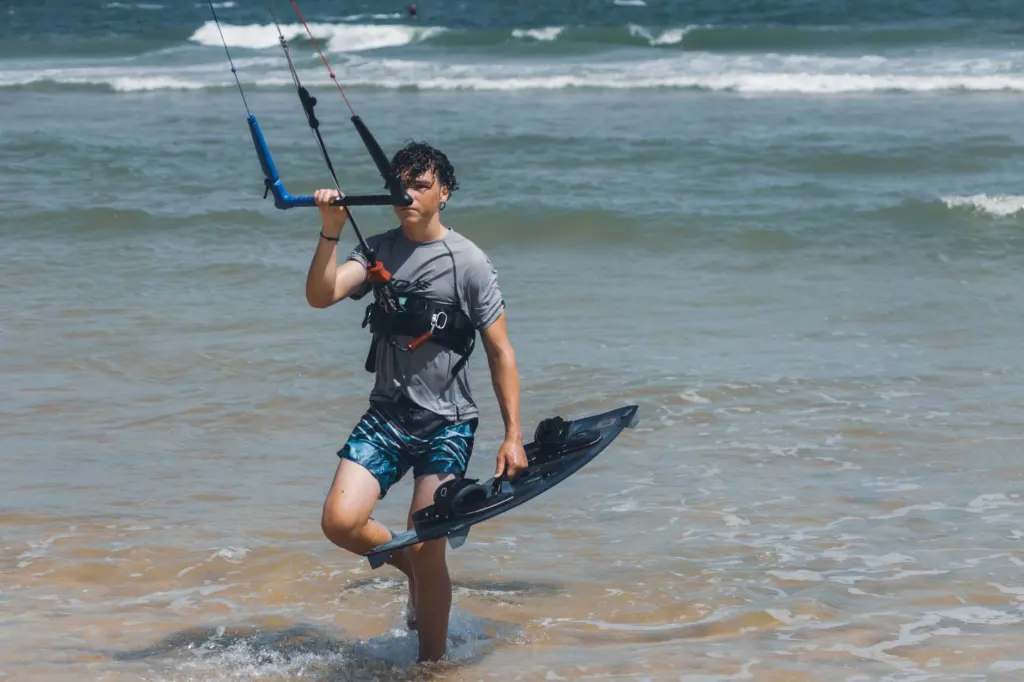
Carry the board so that it does not catch the lines or get pulled by whitewater. When you reach water deep enough to continue, the next challenge is the surf zone itself, covered in how to get out past breaking waves kitesurfing.
Step 5: Manage a launch that goes wrong
A launch can fail in two ways, and each calls for a different response. If the kite is underpowered, it will drop back toward the launching position, which usually leaves you free to try again. If it powers up, it can cross the wind window and possibly pull you over.
The second case is the reason to keep the bar light in your hands at the start and to launch with space around you. If the kite pulls harder than you want, do not hold on and hope. Let go of the bar and try again, as the guide advises, and use the safety release if the situation calls for it.
Step 6: Land the kite at the waterline
Landing mirrors the launch. Return to the beach on the same side you launched from, so the kite approaches over open sand and not over hazards. Signal your helper early, while you still have room, and keep the kite stable overhead until they are in position.
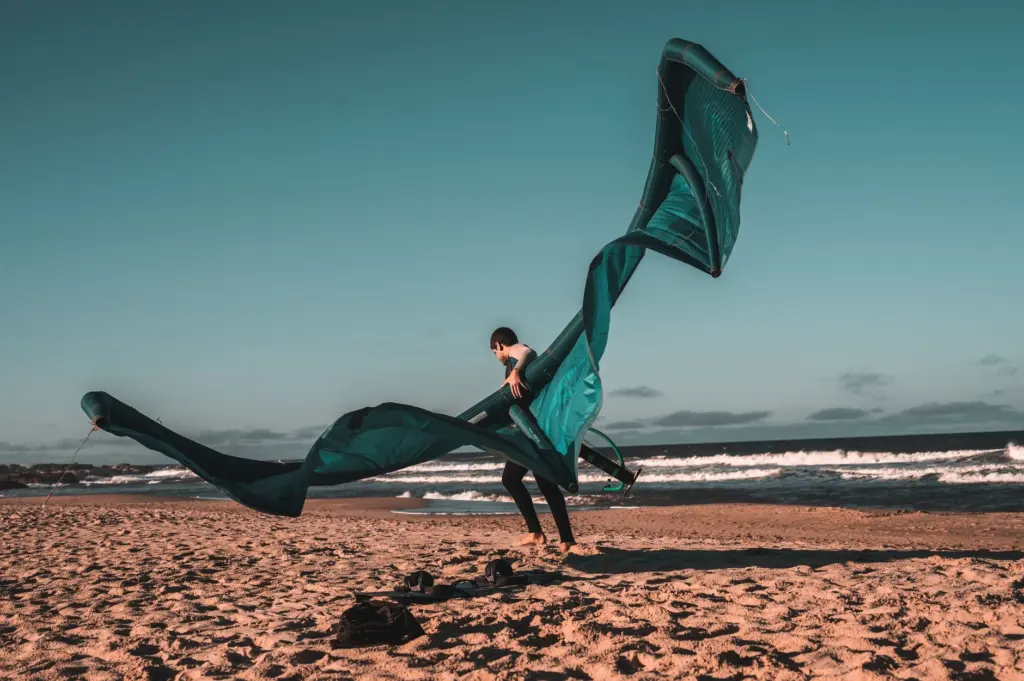
The helper takes the kite by the edge as you bring it down slowly and then secures it before the next wave arrives. Time this between sets, not during them. Once the kite is on the sand, weight the canopy and keep the lines tidy before you do anything else.
If you are heading toward a board setup without foot straps afterwards, strapless kitesurfing tips explain what changes once you are riding.
Checkpoints for each stage
Use this table as a pause point before you commit to each stage. It restates the decisions from the steps above in a form you can run through on the sand.
| Stage | What to confirm | Planning use |
|---|---|---|
| Launch side | Kite is on the land side and you walk toward the water | Keeps you away from land hazards; move along the beach if hard objects lie downwind |
| Kite position | Kite brought to the 9 o’clock or 3 o’clock position | Check which side suits the wind direction and hazards before the helper releases it |
| Underpowered kite | Kite drops back toward the launching position | Usually allows a retry; reset and launch again |
| Powered-up kite | Kite crosses the wind window and may pull you over | Let go of the bar and try again rather than fighting it |
These points come from a kitesurfing launch guide, and they describe general launching practice that carries over to surf beaches.
Frequently asked questions
Can I launch alone on a surf beach, and what are the risks?
Launching without help removes the person who can hold the kite and watch the waves, so a solo launch needs more space and more caution. The main risk is a powered-up kite crossing the wind window and pulling you over. Releasing the bar and trying again is the response described in the launch guide, and an assisted launch is the safer choice when someone is available.
What happens if the kite will not climb when I launch it?
An underpowered kite drops back toward the launching position, and you can usually try again. Reset the kite and lines, wait for the wind to build or hold steady, and restart the launch rather than forcing it with hard bar movements.
Which launch position should I use for the kite?
Launchers usually park the kite at either the 9 o’clock or the 3 o’clock spot. Which of the two suits you depends on wind direction and the hazards around you, so choose the side that keeps the kite and lines clear of obstacles.