The best strapless kitesurfing tips start with board control: learn to handle a wide directional board, place your feet deliberately, and practise direction changes on flat water before taking the board into waves.
This progression builds the board skills that wave sessions assume, so read it alongside the wider guide on how to kitesurf in waves. Each step ends with a visible check, so you move on only when the previous skill holds.
What to have in place first
Strapless riding removes the straps that normally hold your feet to the board, so preparation matters more than it does on a strapped twin tip. Get these items sorted before the first session.
- A forgiving board. Kitesurf Hyères recommends a wide, stable, high-volume directional board for beginners. A strapless kiteboard of this type is designed with surfing in mind and is often surf-inspired.
- A safe, open spot. The same school advises starting far from crowds and obstacles, which gives you room to lose the board and recover without risk to others.
- A leash for early sessions. A suitable leash can secure the directional board during your first sessions, so a fall does not turn into a long swim.
- A kite that suits wave riding. Kite choice is covered in the guide to the best kite for waves.
- Solid launching and landing. Sort out launching a kite on a surf beach separately, so the only new variable in your first strapless sessions is the board.
Board and fin choice for a first session
A first strapless session suits a wide, stable, high-volume directional board. Width and volume give you a platform that forgives imprecise foot placement while you learn to stay on top of the board.
Fin setup changes how the board behaves when you switch stance. Next Level Watersports notes that fins play a significant role in switching stance. Larger fins lock you in and hold the edge well in normal riding, but they hinder a toeside slide, so a pop is preferred with them. Choose larger fins for edge hold while riding straight and expect to work harder on the switch. Choose smaller fins if direction changes are the skill you are practising.
Board feel is personal. Kitesurf Hyères suggests testing several models during a camp so you can feel what works before buying. Demo days and school equipment are the practical way to do that.
The strapless progression, step by step
Work through the stages in order. Skipping ahead to turns before your feet and weight are settled is the usual reason riders lose the board.
Step 1: Handle the board on your knees
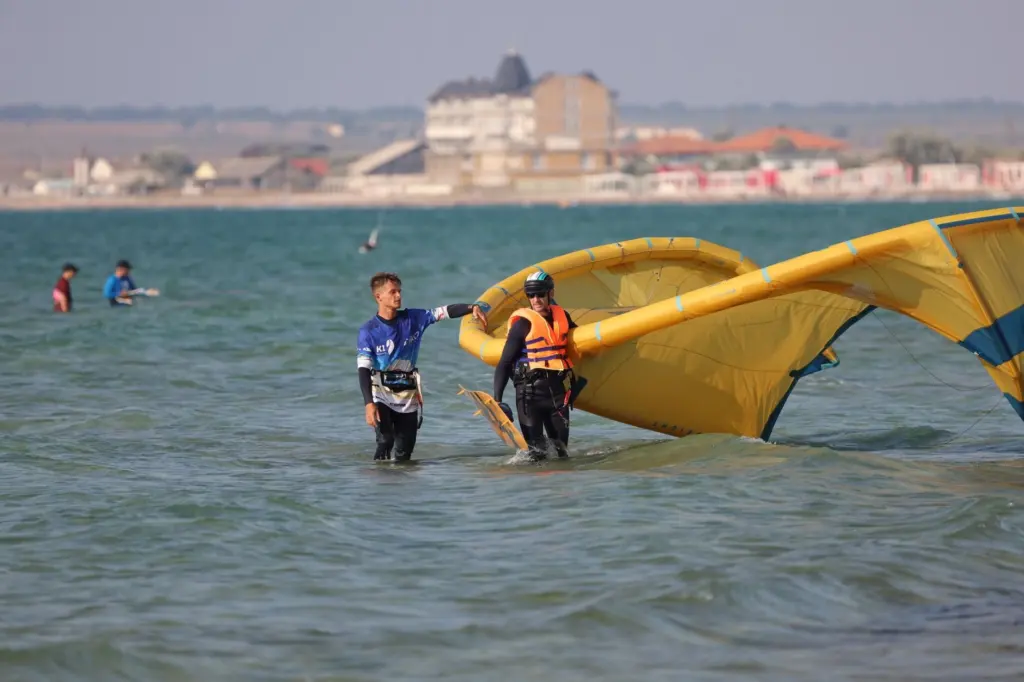
Start by learning how the directional board responds while you kneel on it. Kitesurf Hyères describes early strapless sessions as discovering how to handle the board on the knees before moving on. This stage shows how the board tips, drifts and catches the water without the pressure of standing. Move on when you can keep the board pointing where you want without fighting it.
Step 2: Waterstart and ride straight lines
The next stage is the first hesitant waterstarts, followed by straight lines. Stay at the open, uncrowded spot and aim for a calm, repeatable start. A waterstart that works only some of the time is not ready for turns. Hold a straight line until the board feels steady under you.
Step 3: Place your feet and keep the board under you
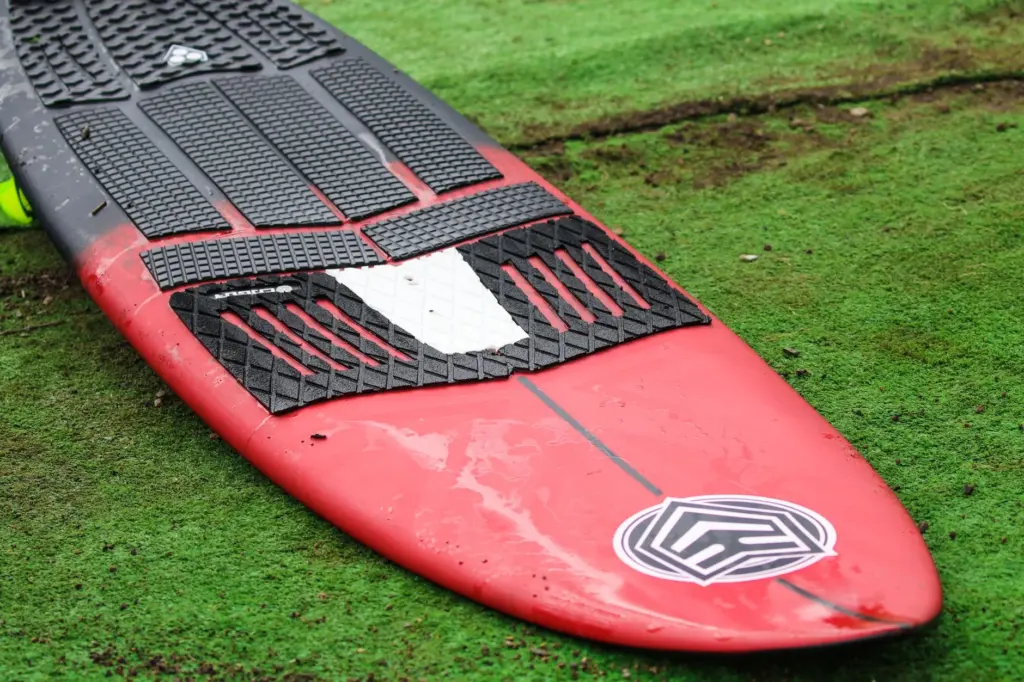
Foot placement without straps is the core strapless skill. Kitesurf Hyères describes it as controlling foot placement without the temptation to pull on an imaginary strap. Riders coming from strapped boards often pull up with the back foot out of habit. On a strapless board that pull can unweight the deck and send it away from you.
Instead, set both feet on the deck and keep them there. Your weight stays over the board rather than hanging off the kite. Check your stance each time you start, because small drifts in foot position are easy to miss until the board slips out.
Step 4: Practise heel-side and toeside riding on flat water
Heel-side riding feels natural to most riders. Toeside riding is where strapless control is tested, because you must edge on your toes with nothing holding your feet. Next Level Watersports states that the best way to learn toeside is in the flattest possible water, so practise on flat water and keep the waves for later.
On the approach, keep your weight on your back foot so the nose does not catch. A catching nose is the typical way a toeside attempt ends in a fall, and a back-foot bias on the approach is the supported fix.
Step 5: Switch direction without losing the board
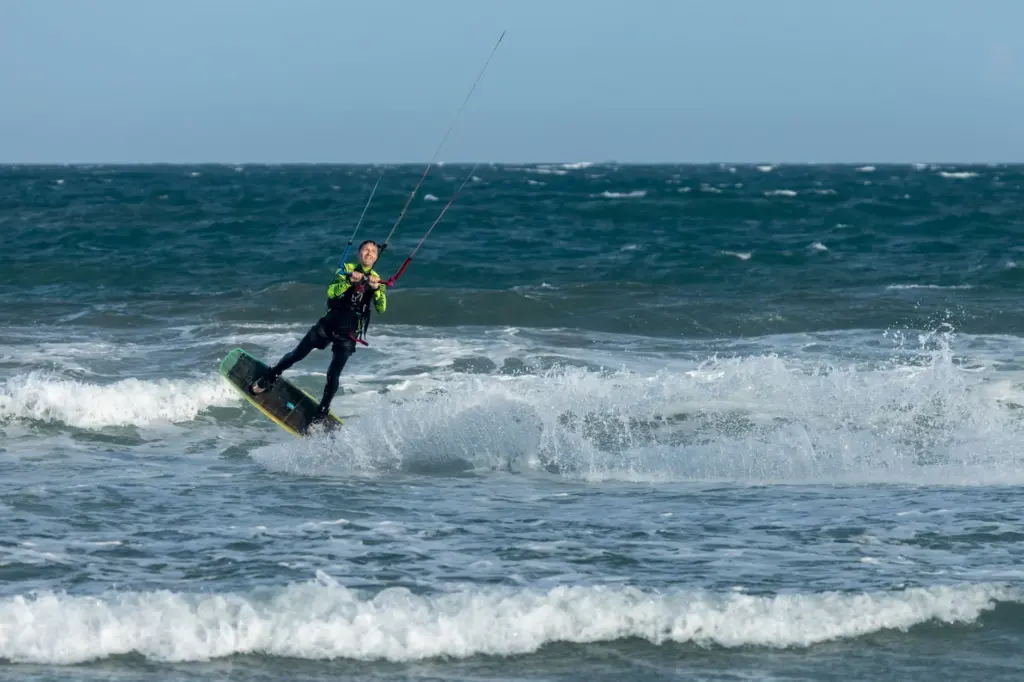
A direction change on a strapless board combines the pieces you have practised: a steady stance, a back-foot approach and enough speed. Keep the kite at 45-60 degrees during the move, which Next Level Watersports links to maintaining tension and speed. Speed matters directly, because the faster you are going, the less likely you are to sink during the switch.
Fin setup shows up here. With larger fins, a slide-style switch is harder, so pop the board round instead. If the board keeps catching on the switch, look at your fins before blaming your technique.
Step 6: Manage power and keep the board close
Losing power is the usual moment a strapless board gets away. Power management, including kite loop and depower handling, starts with where the kite sits and where your weight sits. Leaning back after a switch kills your power, so keep your weight further on the front foot. Staying forward keeps the kite loaded and the board moving under you.
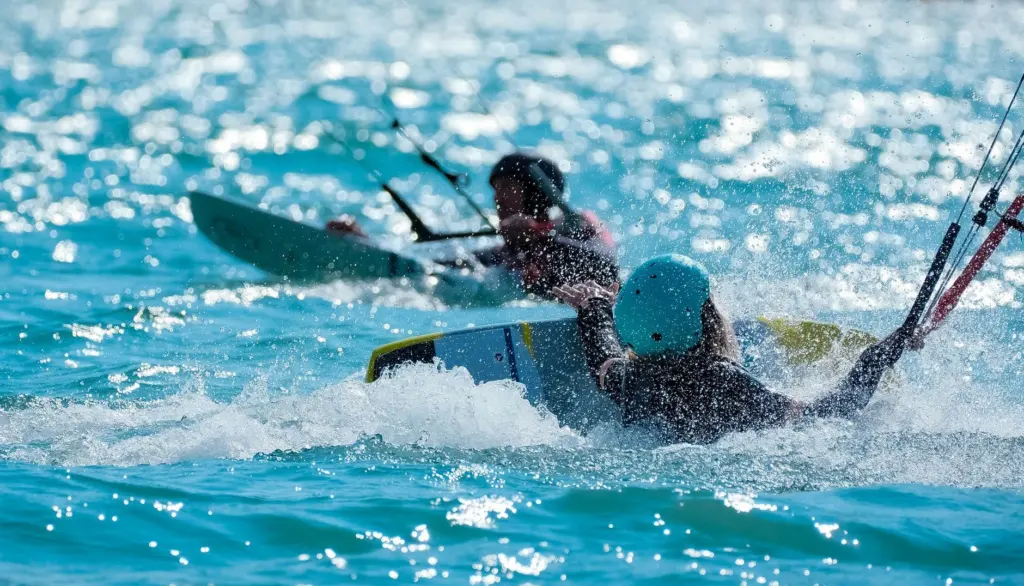
When the board does leave your feet, the leash is what stops it travelling. Use one in your first sessions, as Kitesurf Hyères advises, and stay at the open spot where a runaway board is least likely to meet other people. After a fall, retrieve the board before relaunching or riding on.
Checkpoints before you move to waves
Use these checkpoints to decide whether to repeat a stage or move on. If a row is not met, return to the earlier step rather than carrying the problem into waves.
| Stage | Ready when | Planning use |
|---|---|---|
| Board handling | You control the directional board on your knees | Begin waterstarts |
| Straight lines | Waterstarts lead to steady riding at an open spot | Start foot-placement work |
| Foot placement | Feet stay set without pulling on an imaginary strap | Add toeside on flat water |
| Toeside switch | Kite stays at 45-60 degrees and weight stays forward after the switch | Repeat in flat water, then consider waves |
These stages follow Kitesurf Hyères on early strapless sessions and Next Level Watersports on toeside technique.
Frequently asked questions
Can a beginner learn to ride strapless?
Yes, as long as the skills come in order: board handling on the knees, first waterstarts, then straight lines, with a wide, stable directional board at a safe spot.
What wind suits a first toeside switch?
Next Level Watersports advises moderate to strong winds for first toeside pops, since more power gives the speed that helps prevent sinking.
Should I learn toeside on a twin tip first?
Next Level Watersports recommends starting on a twin tip to learn the move, although a directional board is also workable.
Does wakeboarding help with strapless riding?
It can. Wakeboarding gives the feeling of edging on your toes, which transfers to toeside riding on a strapless board.