Kitesurfing gear for beginners starts with one decision: book lessons before buying anything. Once you ride, the core kit is an inflatable kite with bar and lines, a harness, a twin-tip board and a wetsuit.
Wind speed sets your kite size, water temperature sets your wetsuit, and how far from shore you plan to ride sets how much safety kit you carry. The sections below work through each piece in the order you will meet the decisions, then pull the sizing numbers into one table.
Lessons first, then the first purchase
Take lessons before you spend money on a full setup. A retailer guide advises beginners to take courses at a kite school certified by a professional body such as the IKO. Lessons show you what a kite feels like in real wind, so your first purchase answers a problem you have actually met instead of a guess from a catalogue.
The first decision splits riders into three groups:
- Complete beginners: book instruction and ask the school which gear it supplies. Buy nothing yet, or only the items that are personal and fit-sensitive, such as a wetsuit.
- Riders who have finished lessons and ride regularly in one place: a full beginner package makes sense. The local wind range, not a general chart, should drive the kite size.
- Riders planning trips or offshore sessions: start with the safety and protection sections below, because those items matter more as conditions get more serious.
Waiting is not wasted time. A kite bought too early is often the wrong size for the wind where you end up riding, and a harness bought without trying a seat and a waist model is a common regret. The rest of this guide sets out the criteria, so that when you do buy, you are choosing from understanding rather than from a sales page.
Kite and bar: the core of the setup
The kite is the engine of the whole setup, and the bar is how you steer and power it. Everything else on this page either supports the rider or keeps the kite under control.
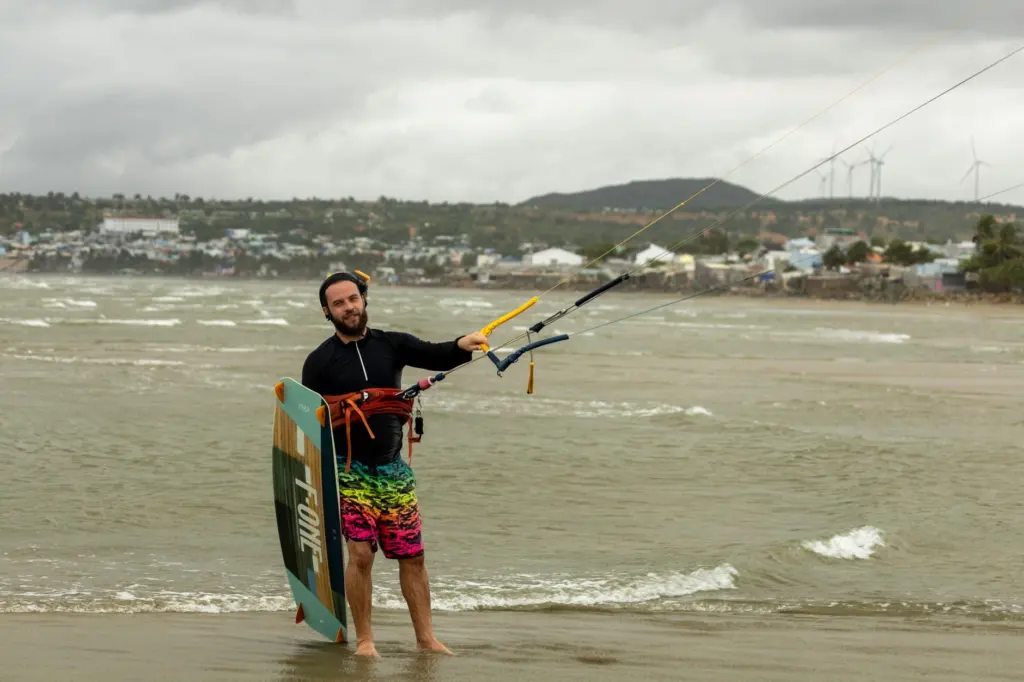
Choosing a kite type
Leading edge inflatable (LEI) kites are the most popular choice for both beginners and advanced riders because of their versatility, according to a retailer buying guide. An inflated tube along the front edge and struts across the canopy hold the shape, which is also what lets the kite float and be relaunched from the water.
Bow kites are the alternative to ask your instructor about. Another retailer guide calls them ideal for beginners because you can fully depower them, and it notes they relaunch easily. Which type suits you depends on what you learned on and what your local riders fly, so the full comparison in kitesurfing kite types is worth reading before you commit. For a wider view of how the kite, bar and lines fit together as a purchase, see how to choose a kitesurfing kite.
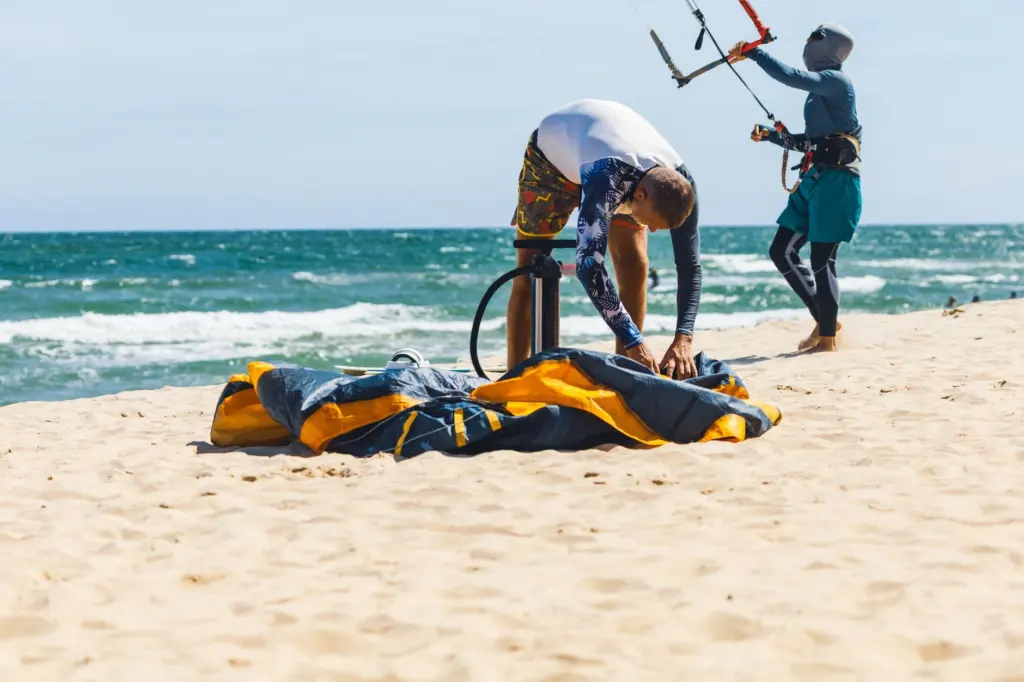
Choosing a kite size
Wind speed picks the kite size: lighter wind needs a larger kite, stronger wind a smaller one. A retailer guide describes a 12 m kite as a good starting place for most riders. Treat that as a starting point for a first purchase, not a rule for every beach. The same guide divides wind into bands, and the table near the end of this article sets them out against board and line sizes.
Rider weight is the second input, and it shifts every band up or down. The kitesurfing kite size chart works through wind and weight together. A UK beginner package, for example, is offered in sizes 6, 8, 10 and 12. That tells you the first kite is a choice from a short list, and your local wind decides which entry on it.
One kite will not cover every day. Riders who stay in one place usually pick the size for the winds they ride in most often. Riders who travel need a wider spread of sizes, which is a good reason not to over-invest in a single kite before you know your regular conditions.
Control bar, lines and leash
The control bar is what you hold, and the lines connect it to the kite. Lines are usually 20 to 27 m long, so the kite works a long way out from you. That distance is why the condition of the bar and lines, and the way they are set up, deserves more attention than the colour of the kite.
A kite leash connects you to the control bar, so the kite does not get lost if you let go. Treat the leash and the bar’s release system as one safety group. Learn how the release works on dry land, with your instructor, before your first solo session. The detail of how the bar, lines and trim parts fit together is in kitesurfing control bar explained, and the release and depower logic is covered in kitesurfing safety systems explained.
When you buy, check that the bar is matched to the kite as a package. A bar that is sold with the kite and lines removes one compatibility question. If you are buying a bar separately, ask your instructor or a shop to confirm it suits the kite before paying.
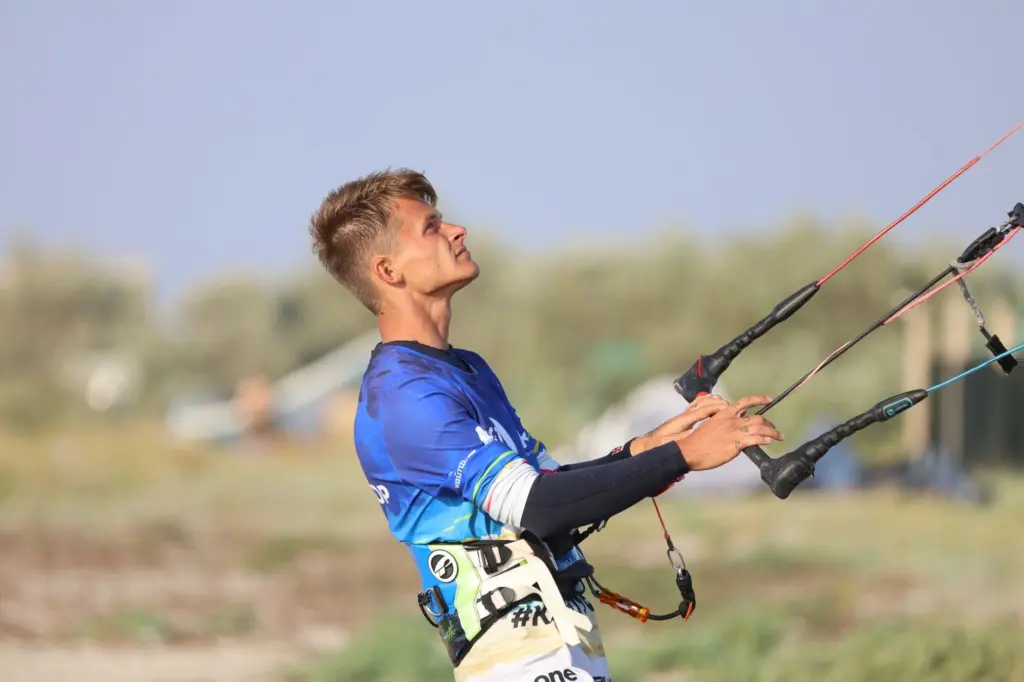
Harness: seat or waist
A harness transfers the kite’s pull from your arms to your body, and the choice between seat and waist styles comes down to support versus freedom of movement. A seat harness offers more support and stability by attaching around your waist and thighs. A waist harness is, in the words of another retailer guide, a bit more comfortable to wear, and it leaves more upper-body mobility.
Use these criteria to choose:
- Pick a seat harness if you want the most support while you learn, or if you feel the pull in your lower back during lessons. Wearing it around the thighs spreads the load.
- Pick a waist harness if comfort and freedom to move your torso matter more. The guide notes waist harnesses are popular among freestyle and freeride kitesurfers because of their flexibility.
- Try before you buy if you can. Many instructors have both on hand. The right answer is the one that stays comfortable after a long session, which a product description cannot tell you.
Neither type is wrong for a beginner. The risk is buying on looks and then finding it chafes or rides up. If your school lends harnesses, ask to swap between styles across lessons so your purchase rests on how each felt.
Board: twin-tip first
A twin-tip board is the usual first board. It is symmetrical, so riders can go in either direction without turning the board around. For someone still working out body-start and edge control, not having to swap feet at every turn removes one task from an already busy first season.
Board length follows rider weight. A retailer guide suggests shorter boards for lighter riders and longer boards for heavier riders, and the table near the end of this article gives the lengths by weight band. Choose toward the larger end of your band if you are heavier within it or ride in lighter wind. The longer reasoning, including float and edge, is in how to choose a kiteboard.
The alternative to a twin-tip is a directional board, which is built to ride one way. If your riding will lean toward waves rather than flat water, read twin tip vs directional kiteboard before buying. Directional riders also need to think about losing the board, so the kitesurf board leash page covers leash choice for that style.
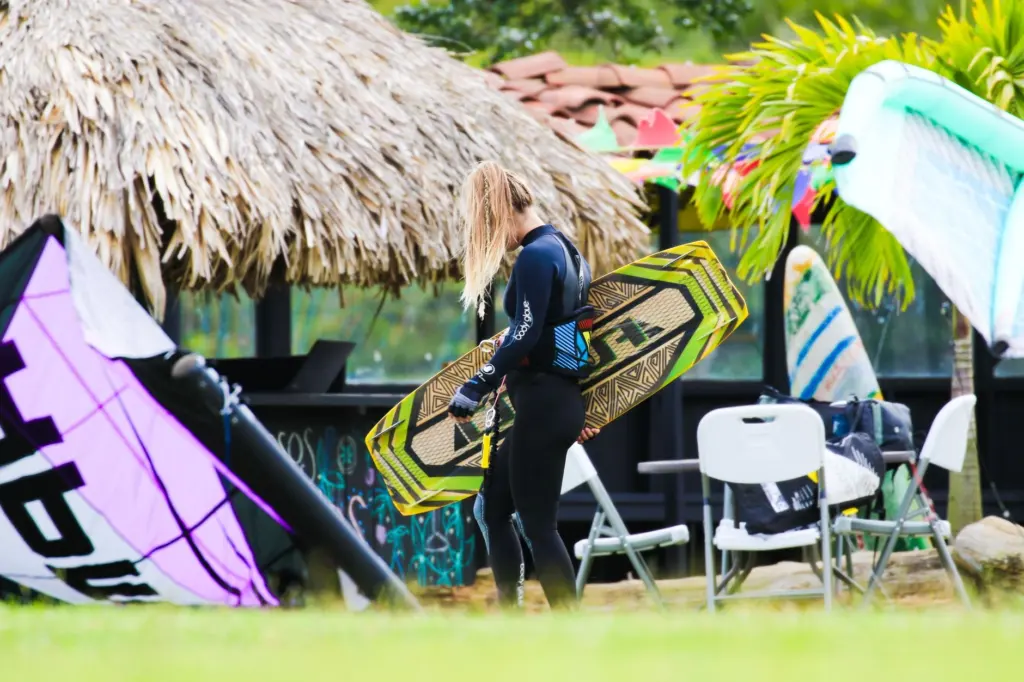
Wetsuit, impact vest and helmet
A wetsuit is essential for kitesurfing, especially in cooler waters. Wetsuit thickness is chosen by water temperature, and the manufacturer’s own temperature chart for the suit you are considering is the right reference, because makers rate their thickness and construction differently. The kitesurfing wetsuit guide goes deeper on matching thickness to the water you ride in.
On cost, a western Australian kiteboarding club’s buyers guide lists a new wetsuit at $200 to $250 in its beginner package. If you will ride in cooler water, put the budget into the suit first. Getting cold shortens sessions and makes learning slower.
Impact vest
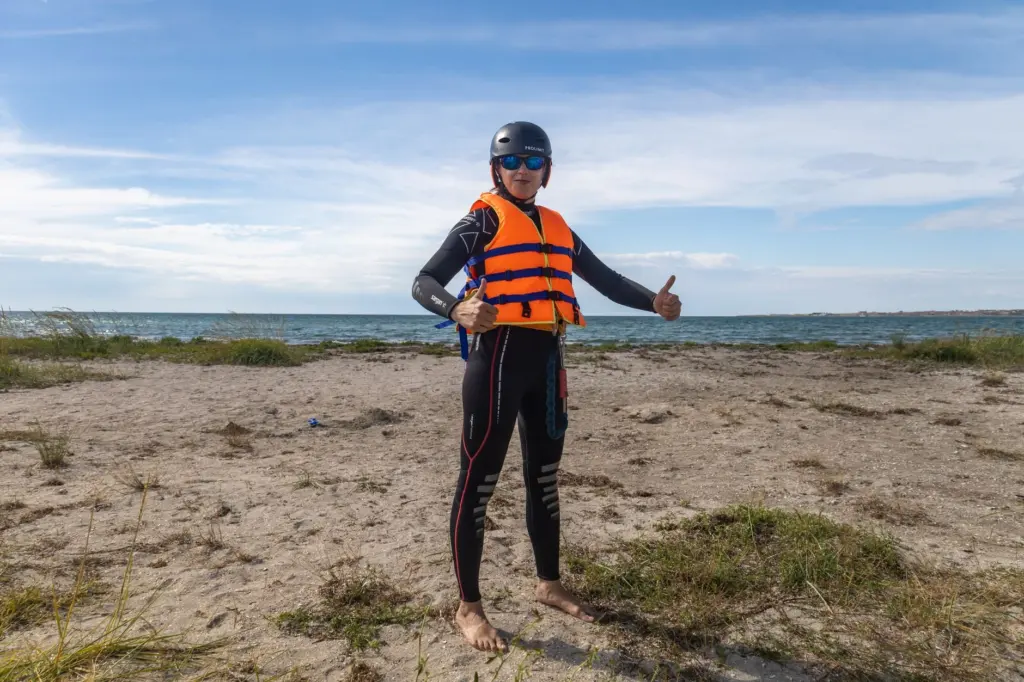
Impact vests are strongly recommended for beginners for added safety and confidence. The practical value is on the days you are crashing, being dragged or landing awkwardly, which is most of a first season. The vest is a cheaper way to buy confidence than a bigger kite.
Helmet and flotation
The club’s buyers guide treats a flotation device and a helmet as a personal decision: you may want to wear a PFD (portable flotation device) and even a helmet. Choose on the kind of riding you plan. If you will ride near other people, near obstacles, or in rougher water, a helmet is a reasonable addition. The kitesurfing helmet page covers fit and when each piece earns its place.
Foot protection is a separate question that depends on the bottom and the water temperature. If you ride on rocky or shelly ground, or in colder water, read about kitesurfing booties before you decide.
Pump and small extras
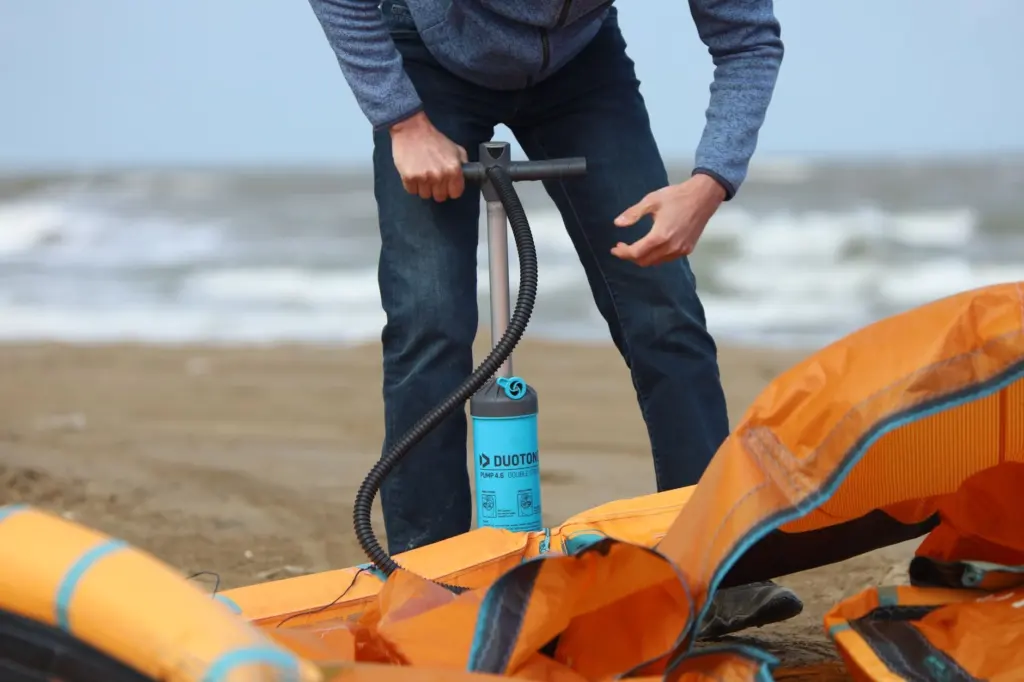
The kite pump is the item beginners forget about until they are on the beach. Inflatable kites need to be filled before every session, and a pump is usually bundled with a kite package. The club’s price list includes a kite with bar, lines and a pump together, so check that a pump is in the box before you add one separately.
Before the first session, practise the full routine at home or with your instructor: inflate, attach lines, check the bar, deflate and roll. The routine for deflating and storing is covered in how to pack a kite. Done slowly on a day with no wind, it takes the stress out of beach setup when the wind is up.
Beyond the pump, the rest of the small items depend on how you ride, and many are worth buying only after a few sessions have shown you what you miss. The kitesurfing accessories page sorts those into items worth buying and items to skip.
Buying new or used
New and second-hand both work for a first setup, and the budget decides. The club’s buyers guide lists a new kite with bar, lines and pump at $1500, and says a complete second-hand setup can come in at under $1,800 with everything. A UK retailer lists its beginner kite package at £1,599.00 to £1,899.00, depending on the option chosen. Separately, a US retailer’s collection of kites and boards runs from $500 to $1000. Those figures come from different places and different items, so use them as rough bands. A breakdown of every part of a setup is in the kitesurfing equipment price guide.
On age, the club says new gear that is unused but a couple of seasons old will work just as well for a beginner. That points to a sensible buying rule: a last-season kite in good condition suits a learner better than a newest-model kite you cannot afford to crash. Inspect any used kite and bar yourself or with an instructor, because condition matters more than age.
Brands matter less at the start than fit and condition, but once you know what you want, best kitesurfing brands compares makers on the things that affect your choice.
Offshore and expedition riding: what changes
The kit list is the same for expedition and offshore riding as for a beginner, but the consequences of each choice are larger. Beach riders can walk back to the car when something fails. Riders far from shore, on a long downwind run or on a trip, cannot. That difference should change how you rank and maintain each piece of gear.
- Kite leash and release: the leash that keeps you attached to the bar, and the release that lets you depower, move from useful to critical. Know exactly how each works, and practise it in shallow water, before you ride beyond easy reach of shore.
- Kite choice: a kite you can fully depower is easier to manage when something goes wrong, which is why bow kites are described as ideal for beginners. If a trip will bring a spread of winds, the wind bands in the sizing table show the range of sizes you would need to carry.
- Wetsuit: the suit is essential in cooler water, and on a longer session you are in the water for a longer time. Choose the suit by the coldest water you expect, using the manufacturer chart.
- Impact vest and flotation: the club treats a PFD and helmet as a personal decision, and that decision tilts toward wearing them as distance from shore, rocks or other riders increases.
- Board and board leash: losing a board far from shore is a bigger problem than losing it on a beach, so look at the leash question on the board leash page if you ride directional.
- Condition of everything: gear that is a couple of seasons old can serve well, but check lines, bar and kite before any trip rather than on arrival.
Do not treat this as a reason to delay learning. Expedition-style riding is built on the same skills and the same gear as ordinary riding, with more margin for error needed. Build the skills near shore first, then apply the checklist above as the distance grows.
Kitesurfing gear checklist
Use this list to check your setup before leaving home and before launching. It collects the items from the sections above in the order you handle them.
- Kite, bar and lines: confirm the kite size suits today’s wind and the lines are attached to the right bar.
- Pump: check it is in the bag and its hose connects to the kite valve.
- Kite leash and release: check both are attached and that you know how the release works.
- Harness: confirm it fits over your wetsuit and is comfortable.
- Board: confirm the right board and, if you ride directional, the leash.
- Wetsuit: check the thickness matches the water temperature.
- Impact vest, helmet and flotation: bring what you have decided to wear.
- Booties: pack them if the bottom or water calls for them.
Sizing at a glance
This table brings the size ranges from this guide into one place. Use it to check a package before you buy, and read the linked spoke pages for the full reasoning behind each row.
| Item | Value and condition | Planning use |
|---|---|---|
| Kite, light wind | 14–17 m at 8–15 mph | Choose a larger kite when the wind is light, and check it suits your weight. |
| Kite, medium wind | 10–13 m at 15–20 mph | This is the band where a 12 m starter kite sits. |
| Kite, strong wind | 5–9 m at 20–25 mph | Carry a smaller kite only if you ride in these winds. |
| Board, under 150 lb | 133–140 cm | Shorter boards suit lighter riders. |
| Board, 150–200 lb | 140–152 cm | The middle band covers most adult riders. |
| Board, over 200 lb | 152–165 cm | Longer boards suit heavier riders. |
| Bar lines | usually 20–27 m | Lines this long place the kite well away from you, so inspect them before every session. |
Kite and board figures come from a retailer sizing guide, and the line length from a second retailer guide.
Frequently asked questions
Should I buy gear before taking lessons?
No. Lessons at a school certified by a body such as the IKO come first, and they let you ask the school what it supplies before you spend anything.
How long does kitesurfing gear last?
The buyers guide from a western Australian kiteboarding club says unused gear a couple of seasons old works just as well as new for a beginner. Condition matters more than age, so inspect used kites, bars and lines before buying.
Does a kite package include a pump?
Some do. The club’s beginner price list describes a kite with bar, lines and a pump together, so check the contents before buying a pump on its own.
What wetsuit thickness is right for kitesurfing?
It depends on the water temperature you ride in. Use the maker’s temperature chart for the specific suit, and err toward warmer if you ride in cooler water, where a wetsuit is essential.