| Term | What tide agencies say | Planning use |
|---|---|---|
| Spring tide | Occurs twice each lunar month, one to two days after new or full moon. High tides run higher and low tides lower than average. | Expect the biggest change in beach width between tides. Plan launch and landing for both the low and the high. |
| Neap tide | Occurs at the first or third quarter moon, seven days after a spring tide. | Water level swings less, so the riding area changes less through the session. |
| Tidal range | The difference in height between high tide and low tide. | Compare this figure from day to day. A bigger range means a bigger change in your launch space. |
| Daily pattern | Around the UK there are mostly two high tides and two low tides each day. | A session window can fall on either rising or falling water, so check which before you rig. |
Definitions and timing come from NOAA’s explanation of spring tides and the UK National Tidal and Sea Level Facility’s tides FAQ.
Kitesurfing tides decide how much beach you have for launching and landing, where the water is deep enough to ride, and how hard the current pulls. Check the tide for your spot before you commit to a wind window.
This guide follows a session from planning to escape. For the wider skills, see how to kitesurf in waves. To match tide to wind and swell, see how to read a kitesurfing forecast.
Phase one: understand the tide cycle
Spring tides occur twice each lunar month all year long, without regard to the season, according to NOAA. You do not need to wait for a particular time of year to meet big tides. Check the moon phase instead.
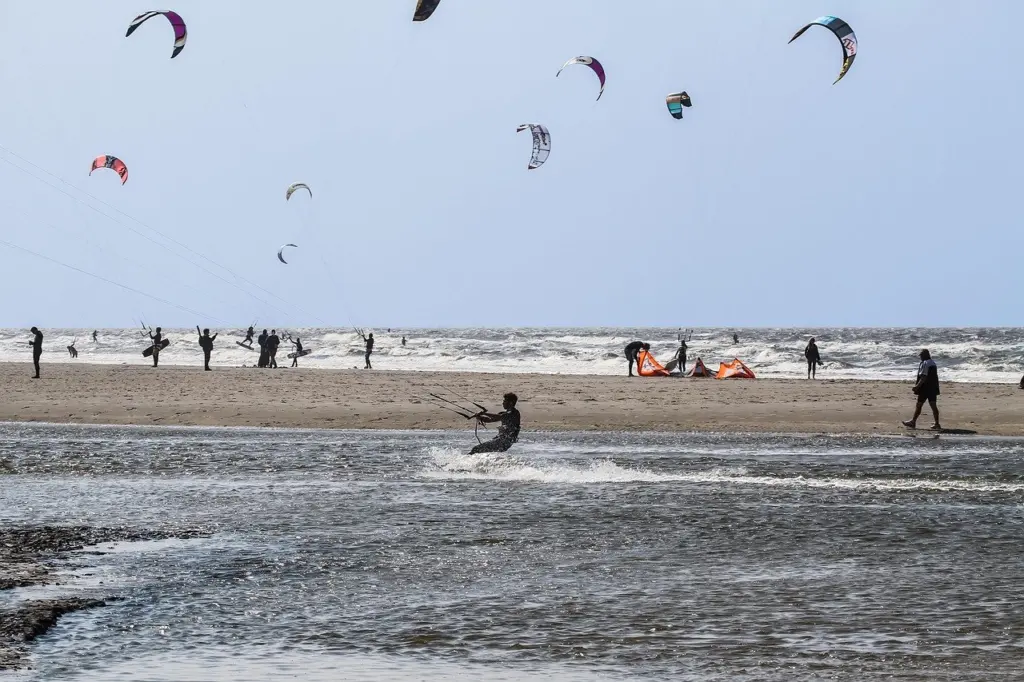
The National Weather Service glossary defines a spring tide as a tide higher than normal around the new and full moon. It defines a neap tide as the minimum tide at the first and third quarters of the moon. NOAA adds that seven days after a spring tide the sun and moon sit at right angles to each other, which is when neaps occur.
The moon sets the rhythm. The NTSLF gives the sun’s tide-generating force as 0.46 times that of the moon. That is why tide timing follows the lunar cycle and not the calendar.
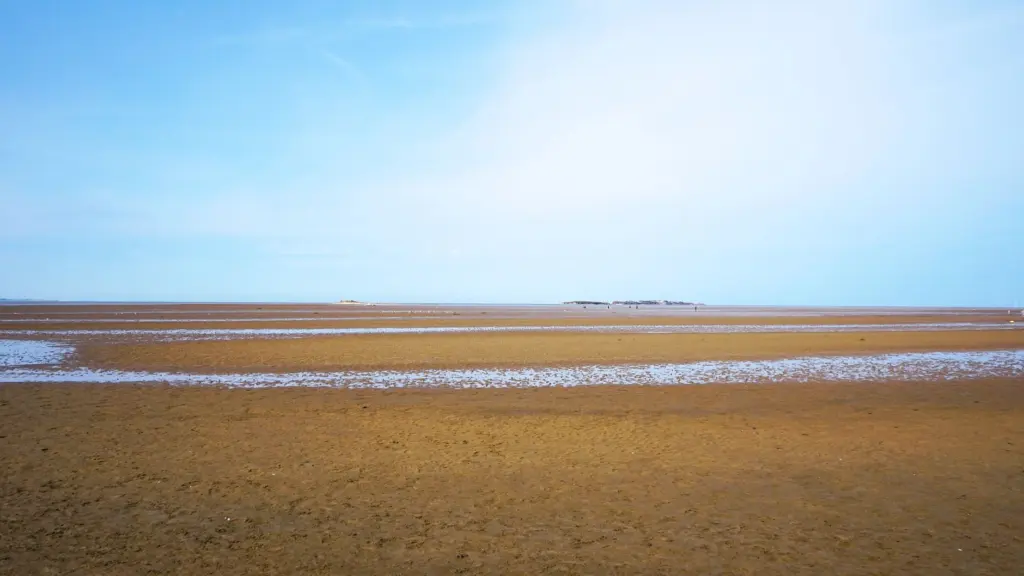
For a kitesurfer, the point is range. A spring tide gives higher highs and lower lows, so the beach grows and shrinks more. A neap tide gives gentler changes, so the spot behaves more consistently through the day.
Phase two: read the tide table before the day
A tide table is a list of predicted highs and lows for one location. The National Weather Service describes tide prediction as the computation of tidal highs and lows at a given location. Always pick the station nearest your launch beach, because predictions are location-specific.
- Find your station and date. Choose the port or station closest to your spot and check it is set to local time.
- Read each high and low. A typical listing shows a time and a height, such as a low of 0.08 feet at 2:51 AM followed by a high of 1.84 feet at 9:06 AM in this example listing.
- Work out the range. Subtract the low height from the neighbouring high. A larger difference means a larger change in beach width.
- Note the datum. Heights are measured from a reference level. US gauge reports, for instance, give water level in feet above or below Mean Lower Low Water, and UK charts use their own reference, so compare like with like.
- Match the times to your wind window. Mark which part of the session falls on rising water, falling water or around the turn.
The same example listing carries a note that its predictions are not intended for navigational use. Treat a tide table as a planning tool and confirm conditions at the beach.
Use a tide gauge to check the prediction
A tide gauge records the water level that is actually there. The National Weather Service defines a tide anomaly as the actual water level minus the prediction. When the gauge reads well above the table, the beach will be narrower than planned.
Weather can cause that gap. The NTSLF notes that storm surges can only be forecast with the same time horizon as weather forecasting, about two to five days. Recheck a nearby gauge close to the session, and treat a forecast storm as a reason to expect higher water than the table shows. The same FAQ points to the gauge at Lowestoft as an example of a mixed semidiurnal tide, so two highs and two lows can be unequal in height.
Phase three: choose the tide state for your spot
No single tide state suits every beach. Pick it by what your spot does at each extreme.
- Beaches with narrow dry sand at high water. Prefer the hours around low tide, or a neap day, so you have room to lay out lines and land without a crowd.
- Shallow bars, rock or reef. Prefer higher water, when more of the hazard is covered, and treat the lowest part of a spring tide with caution.
- Spots where the beach almost disappears at the top of a spring tide. Choose a neap day or ride on the falling tide so you are not forced to land on a shrinking strip.
Local riders, schools and harbour tide publications know how your specific beach changes. Ask before your first session, because the best state for one beach can be the worst for the next.
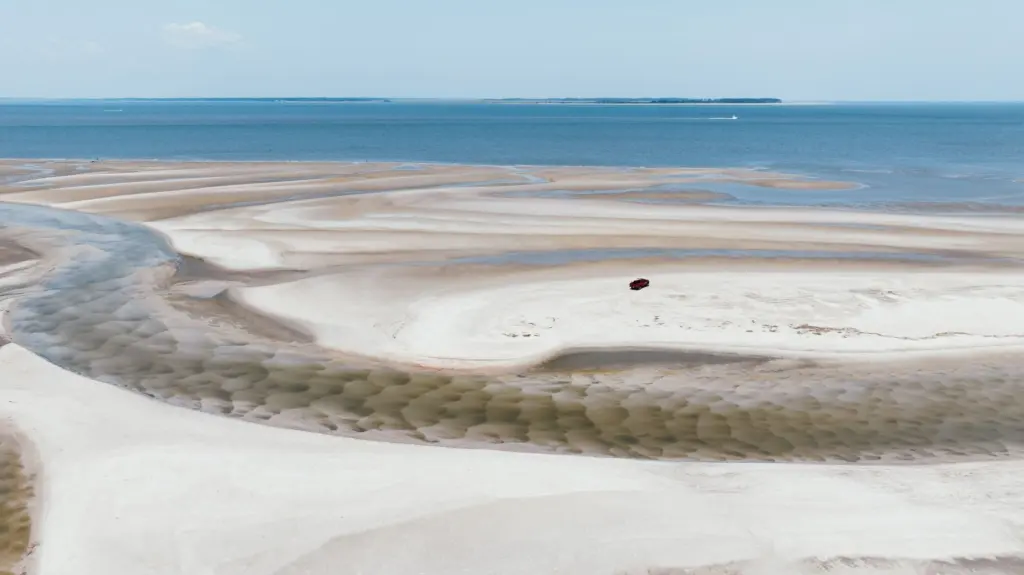
Tides also drive moving water, known as the tidal stream. Water that is flowing past a beach matters as much as depth, and it can differ between the start and end of a session. The next phase covers what to do about it.
Phase four: launch and landing checks
Do the checks at the water’s edge, not from the car park. A beach that looked generous on the table can look very different when you arrive.
- Look at the tide state now. Decide whether the water is rising or falling and where the waterline will be when you come back.
- Pick a launch spot that will still exist. Choose a place that will not be covered if the tide is coming in.
- Scan for exposed hazards. Low water reveals rock, reef and sand flats that high water hides.
- Plan an alternative landing. Know where you would come ashore if the main beach is narrow or crowded.
- Watch the water for a minute. Floating foam, weed or debris drifting along the shore shows which way the stream is running.
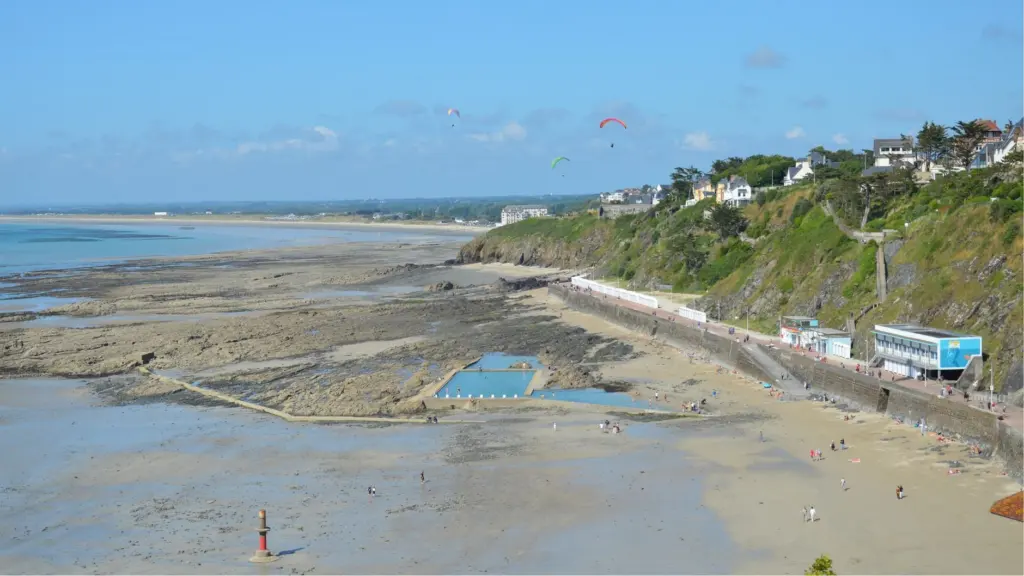
Phase five: ride in a strong current
Strong current makes drift the main risk. A rider who looks stationary against the sea can be moving along the shore, so use fixed landmarks on land to judge where you really are.
- Start up-current. Begin your session on the side from which the water is flowing, so the stream carries you back toward your launch point.
- Keep a margin. Stay closer to the beach than you would in slack water, and turn back before you feel tired.
- Angle across the flow. Aim to ride slightly into the stream to hold position, and park the kite low and under control if you need to rest.
- Combine with wind direction. A seaward flow plus an offshore wind leaves little margin if you lose the kite, so read offshore wind kitesurfing danger before riding such a day.
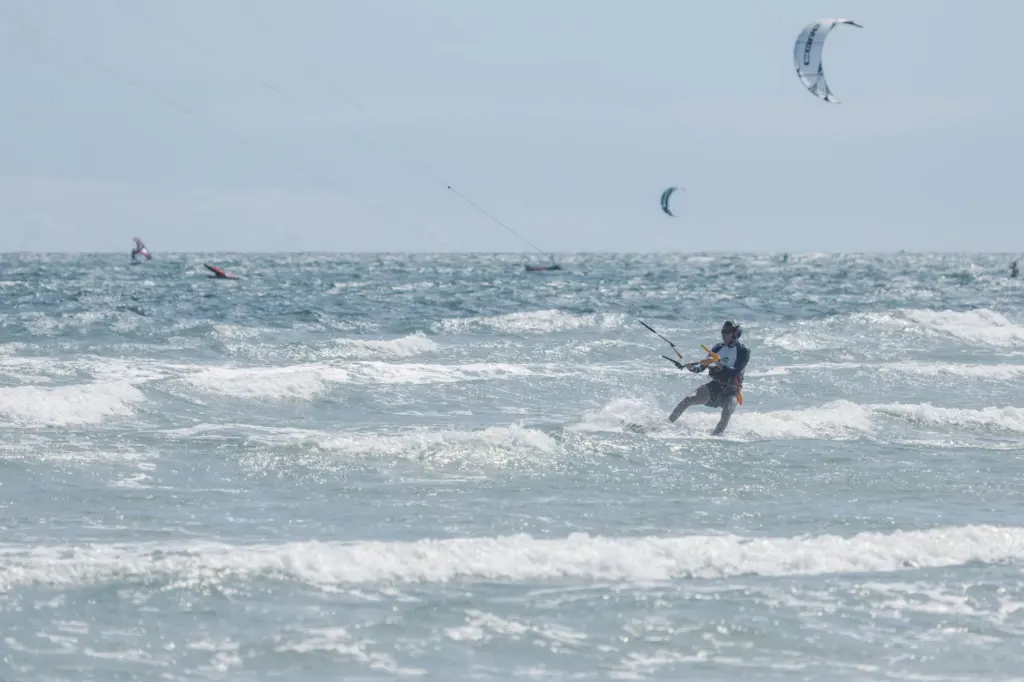
Phase six: if a rip current takes you
A rip current often shows as a channel of darker, choppy water between breaking waves. Spotting it from the dune before you launch is better than meeting it on the water. Where lifeguards are on duty, follow their flags and advice on where to ride.
If one catches you, your kite changes the choices. These steps are general direction, so also follow local lifesaving guidance.
- Stay calm and keep the kite controlled. Depower it and keep it in a stable, low position so it does not drag or lift you.
- Do not fight the flow head-on. Aim across the current, toward the side of the channel, until the pull eases.
- Ride out of the channel, then return. Once clear of the flow, head back toward the beach, avoiding the channel itself.
- Signal for help if you cannot get clear. Keep the kite safe and attract attention from the beach or other riders.
Frequently asked questions
How do tides affect kitesurfing?
Tides change beach width, the depth over bars and rocks, and the water movement past your spot. Spring tides give the largest changes in water level, and neap tides give the smallest.
How do I read a tide table?
Find the station nearest your beach, then read each high and low with its time and height. The gap between neighbouring heights is the tidal range. Check the reference level and the time zone before you compare days.
Which tide state is best for my spot?
It depends on the beach. Narrow beaches suit low tide or neap days, while spots with shallow hazards suit higher water. Local riders can tell you how your specific beach behaves.
Can I rely on predicted tide times for the whole session?
Treat them as a plan. Weather can shift actual water levels away from the prediction, so compare the table with a nearby tide gauge close to the time you ride.