| Situation | Kit | What it solves | Planning use |
|---|---|---|---|
| Crash or wipeout | Helmet | Protects your head during crashes | Wear it every session. Choose a lightweight, ventilated shell in a high-visibility colour. |
| Hard fall in the water | Impact vest or personal flotation device (PFD) | Adds protection and buoyancy without limiting movement | Pick a fit that lets you move freely, then wear it for the whole session. |
| Kite keeps pulling you | Leash and quick release | Helps you keep control, and lets you flag out the kite and activate the chicken loop rapid release | Check the connection and the release before you launch. |
| Release route unavailable | Safety knife in a harness sheath | Gives you an on-body tool as a last resort | Mount it where either hand can reach it on the harness. |
The table draws on a kiteboarding gear guide and an equipment guide from Insta360.
Kitesurfing safety equipment for the ocean starts with a helmet, an impact vest or flotation device, a leash paired with a quick release, and a harness-mounted knife. Add signalling gear and pre-session checks, because no single item covers every failure.
This list is organised by the situation each item helps with, so you can see what fails first and what backs it up. Pair it with our guide on how to kitesurf in waves for the riding side of the same sessions.
Protecting your body in a crash
Falls are the most predictable problem in the surf, so body protection is the part of the kit you wear without thinking. Two items do most of the work here, and neither is optional for ocean sessions.
Helmet
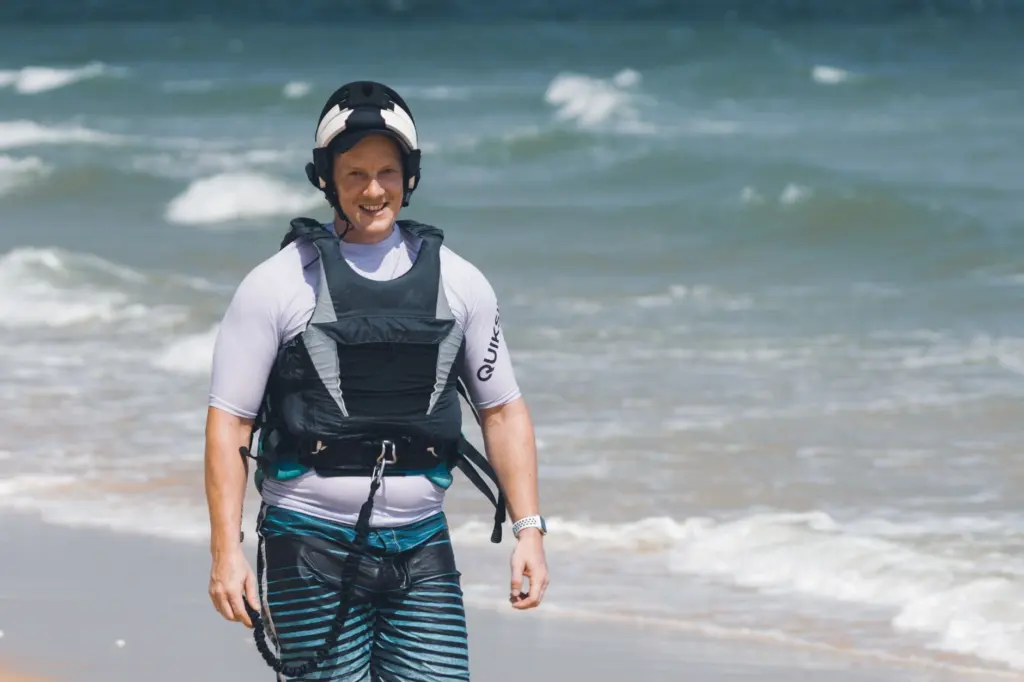
A kiteboarding gear guide puts it plainly: helmets are a must for water safety. The same guide describes lightweight, ventilated designs that help protect your head during crashes, and it mentions high-visibility colours.
Visibility matters in open water because a bright helmet makes you easier to spot among waves. A lightweight, ventilated shell is also easier to keep on for a full session, which is the real test of any helmet. The limitation is that a helmet only protects the head. It does nothing for your torso or for staying afloat, so it works as part of a set.
Impact vest and flotation
Impact vests add protection and buoyancy without limiting movement, according to the same gear guide. Insta360’s kitesurfing equipment guide names a helmet, an impact vest and a personal flotation device (PFD) together as the protective core.
Treat the vest and the PFD as related choices rather than duplicates. A vest suits riders who want padding plus some buoyancy with freedom to move, and a dedicated PFD suits riders who want flotation as the priority. Whichever you choose, try it with your harness on, because bulk under the harness changes how both sit.
Keeping control of the kite
Most serious open-water problems come down to a kite you cannot depower or let go of. This group of items exists to give you more than one way out.
Kite leash for waves
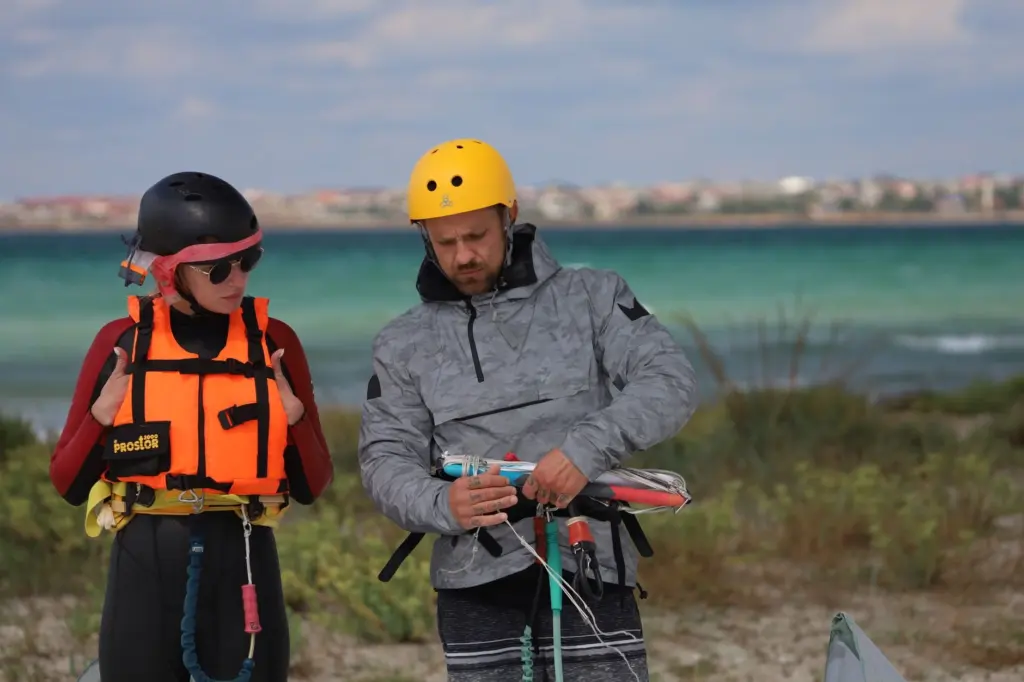
The leash is the link that helps you keep control of your kite, as Insta360’s guide describes it. In that setup the front of your harness connects to the safety line through a safety leash. Beginner setups in the gear guide list a safety leash first, before the protective gear.
For waves, the practical answer is a safety leash that attaches your harness to the kite’s safety line and suits your bar system. Check that the leash and bar are compatible before you leave the beach, rather than assuming any leash fits. A retailer lists the F-One Safety Kiteboarding Leash at $23.95, down from a normal price of $74.95. That shows a leash is a modest cost compared with the rest of the kit.
Quick release
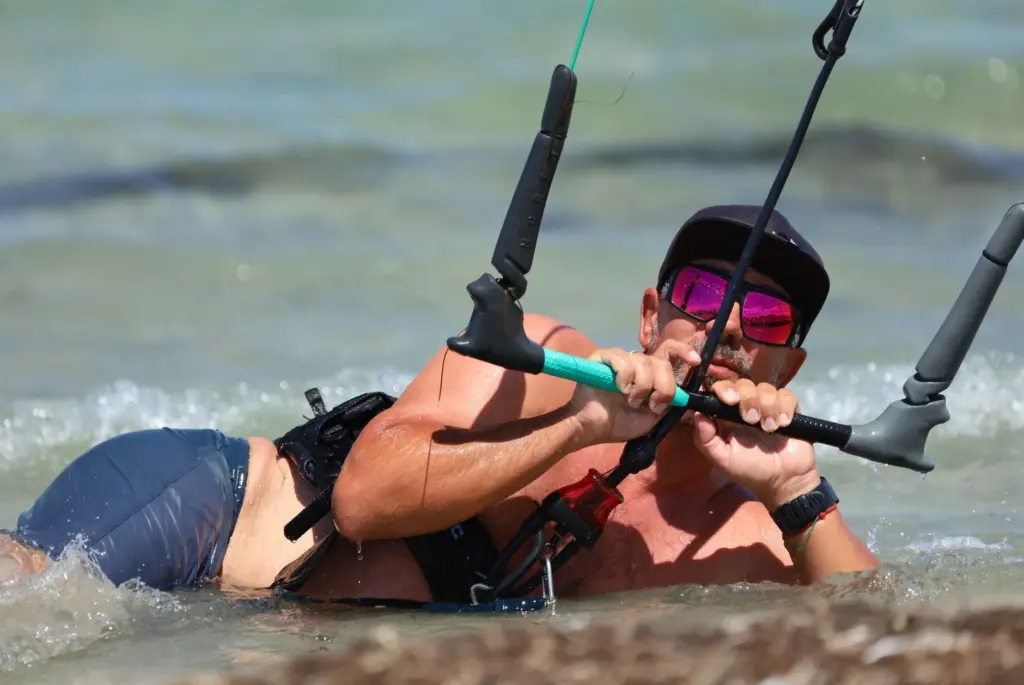
The quick release lets you flag out your kite and activate the chicken loop rapid release in an emergency, according to Insta360’s equipment guide. Flagging out is what stops the kite pulling when you need to let go.
Slingshot lists a Sentry Quick Release Complete with flagging line at $223.99. If your bar already has a release, the decision is not whether to buy one but whether you can operate it by feel while being dragged or tumbled. That is worth rehearsing on the sand.
Safety knife
Yes, carry a safety knife in the ocean, and carry it on your harness. A hook knife with a sheath for easy harness attachment appears in the gear guide’s accessories, and a water sport safety knife is listed by a water sports retailer at a $19.95 sale price.
The knife is your backup, not your main plan. The quick release comes first, and the knife is for the case where it cannot be used. Mount it so you can reach it with either hand while tangled, and make sure the sheath holds it firmly through a fall. It suits every rider heading offshore, whatever their level.
Signalling for help
Protection and control equipment help you deal with a problem. Signalling gear helps others find you when you cannot deal with it yourself.
Whistle and flares
A whistle and a handheld flare or signal device are compact signalling additions. Clip them to your vest or harness so they stay with you after a crash, because anything left on the beach cannot help you. A whistle is light enough to carry on every session. A flare or signal device needs a look at how it is stowed and whether it stays accessible when you are in the water.
Signalling works best alongside a plan. The Insta360 guide recommends telling someone where you will be and when you plan to come back, so there is a person who will notice when you are overdue.
Before each session
Gear only helps if it is in working order and the conditions suit it. These checks take place before you launch.
Check the weather and water
Insta360’s guide advises checking the weather and water conditions to make sure they are safe and suitable. Do this before you rig, not after, because rigged kit creates pressure to go. If the wind is blowing away from shore, read about offshore wind kitesurfing danger before you decide where to launch.
Run the kit check
- Helmet and vest: confirm the straps and buckles are secure and the fit is snug enough to stay in place in a fall.
- Leash: confirm it runs from the front of your harness to the safety line and is not twisted.
- Quick release: operate it once on the sand so you know how it feels.
- Knife: check that it sits firmly in its sheath on your harness and that you can find it without looking.
- Signalling: confirm the whistle and any signal device are clipped on and within reach.
Match the plan to your experience
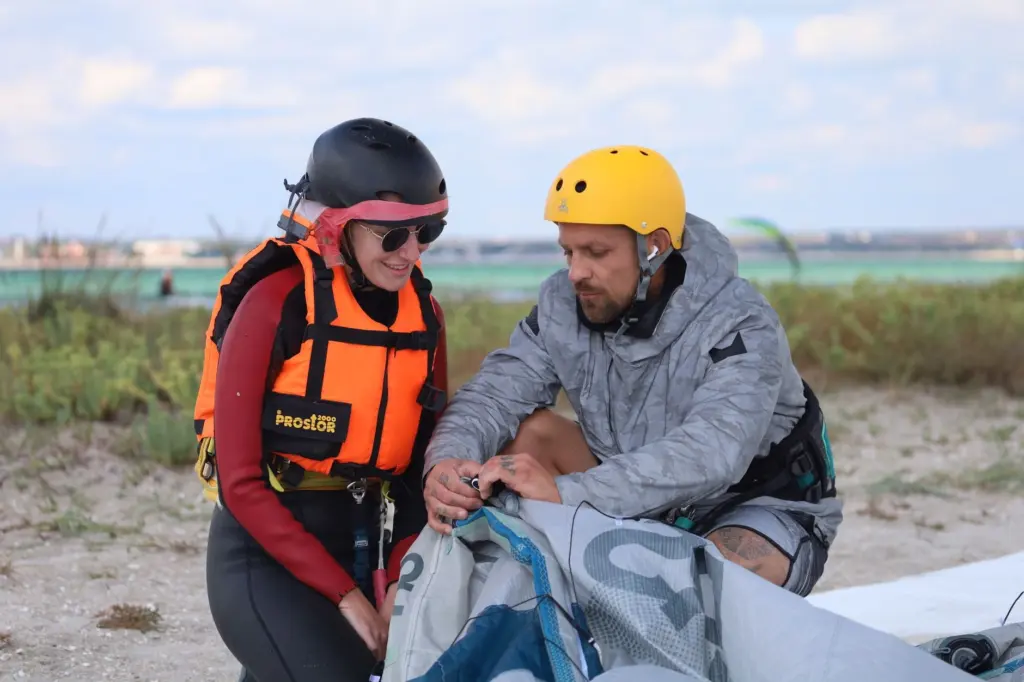
If you are new, the gear guide says learning the basics with a trainer kite and professional lessons is the safest way to start. Another retailer guide describes kitesurfing as a high-intensity sport that should be approached with a professional instructor. Kit reduces risk but does not replace skill, and an instructor can help you set up the gear correctly the first time. Once you ride waves, board choice is a separate decision, covered in our comparison of directional vs twin tip kiteboard waves.
Frequently asked questions
| Question | Answer |
|---|---|
| What safety equipment do I need for kitesurfing in the ocean? | At minimum, a helmet, an impact vest or flotation device, a leash, a working quick release and a harness-mounted knife. Add a whistle and a signal device that stay on your body. |
| Do I need a safety knife and where do I carry it? | Yes. Carry it in a sheath attached to your harness, positioned where either hand can reach it quickly. |
| Which leash is right for waves? | Use a safety leash that connects the front of your harness to the kite’s safety line. Make sure it is compatible with your bar and test it before you launch. |
| Should beginners go straight to the ocean with this kit? | No. A trainer kite and professional lessons come first, because kit supports skill and does not replace it. |